Home
version: 1.7.4
Welcome to the Document Redaction App documentation. This site provides comprehensive documentation for the Document Redaction App.
Navigate through the sections to learn how to install, use, and manage the application. Below is a brief introduction to the app.
Document redaction
Redact personally identifiable information (PII) from documents (pdf, png, jpg), Word files (docx), or tabular data (xlsx/csv/parquet). Please see the User Guide for a full walkthrough of all the features in the app.
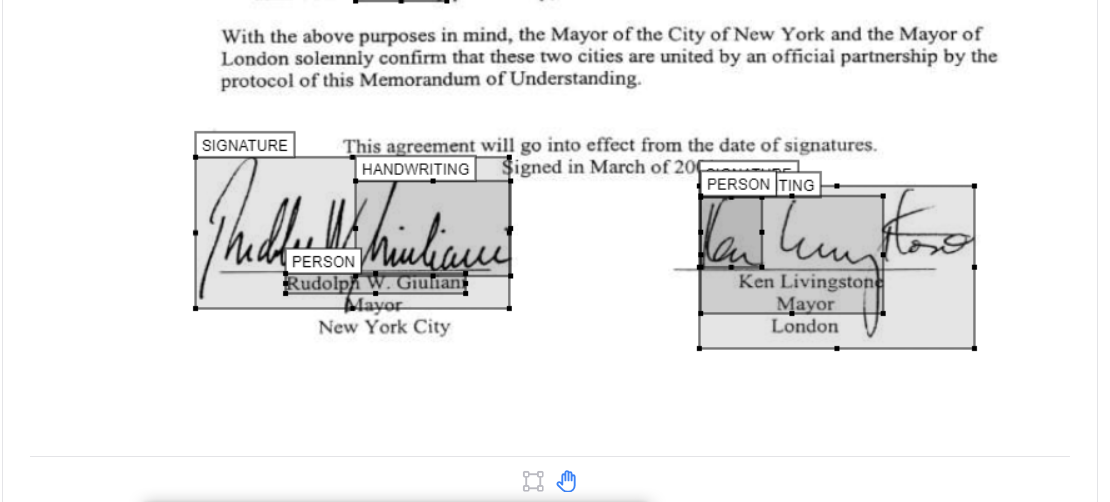
To identify text in documents, the ‘Local’ text extraction uses PikePDF, and OCR image analysis uses Tesseract, and works well only for documents with typed text or scanned PDFs with clear text. Use AWS Textract to extract more complex elements e.g. handwriting, signatures, or unclear text. For PII identification, ‘Local’ (based on spaCy) gives good results if you are looking for common names or terms, or a custom list of terms to redact (see Redaction settings). AWS Comprehend gives better results at a small cost.
Additional options include, choosing the type of information to redact (e.g. people, places), custom terms to include/ exclude from redaction, fuzzy matching, language settings, and whole page redaction. After redaction is complete, you can view and modify suggested redactions on the ‘Review redactions’ tab to quickly create a final redacted document.
NOTE: The app is not 100% accurate, and it will miss some personal information. It is essential that all outputs are reviewed by a human before using the final outputs.